Installing quality exhaust insulation on your vehicle provides multiple benefits, including reducing the amount of heat the exhaust radiates. This radiated heat wears components and deteriorates fluids, and it heats the floors. It also increases exhaust gas temperatures and exhaust gas velocities, which improves scavenging and flow of exhaust gasses from the engine cylinders for better performance and efficiency.
Insulating the exhaust system also reduces your risk of burning yourself while underneath the vehicle. This really comes into play with a racecar or off-road truck, when there may not be time to let the vehicle cool off before working on it.
Our friend’s lifted 2016 Jeep Wrangler JK Rubicon had a very noticeable amount of heat boiling out from underneath, like when you stand in front of a fully heated oven with the door open. This provided a perfect opportunity to demonstrate how effective the Heatshield Products Pipe Armor and Muffler Armor kits would be at insulating sections of the exhaust pipe, muffler and resonator.
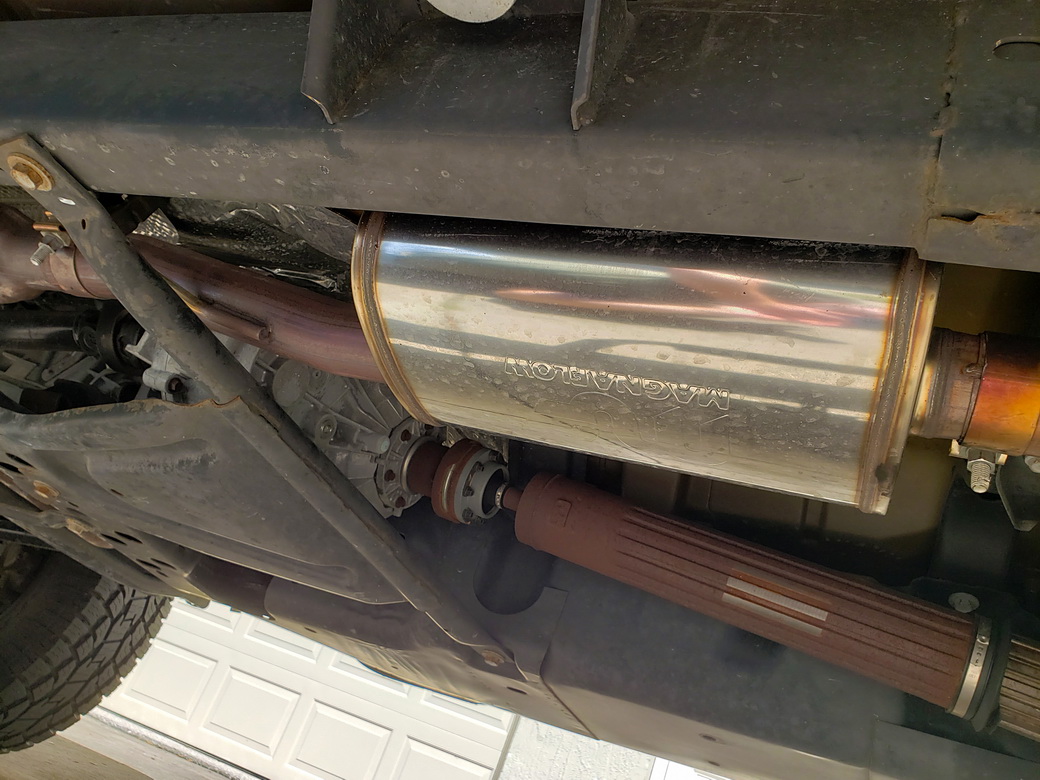
ABOVE: The 2016 Jeep Wrangler used in our test had a cat-back exhaust system and 3-inch suspension lift. Installing Heatshield Armor insulation for off-road environments is a great option because it is more durable than typical exhaust wraps, with less chance of rocks or other debris snagging the material and potentially ripping it off.
ABOVE: Before testing, we drove the Jeep until it was at operating temperature and the exhaust system was thoroughly heated.
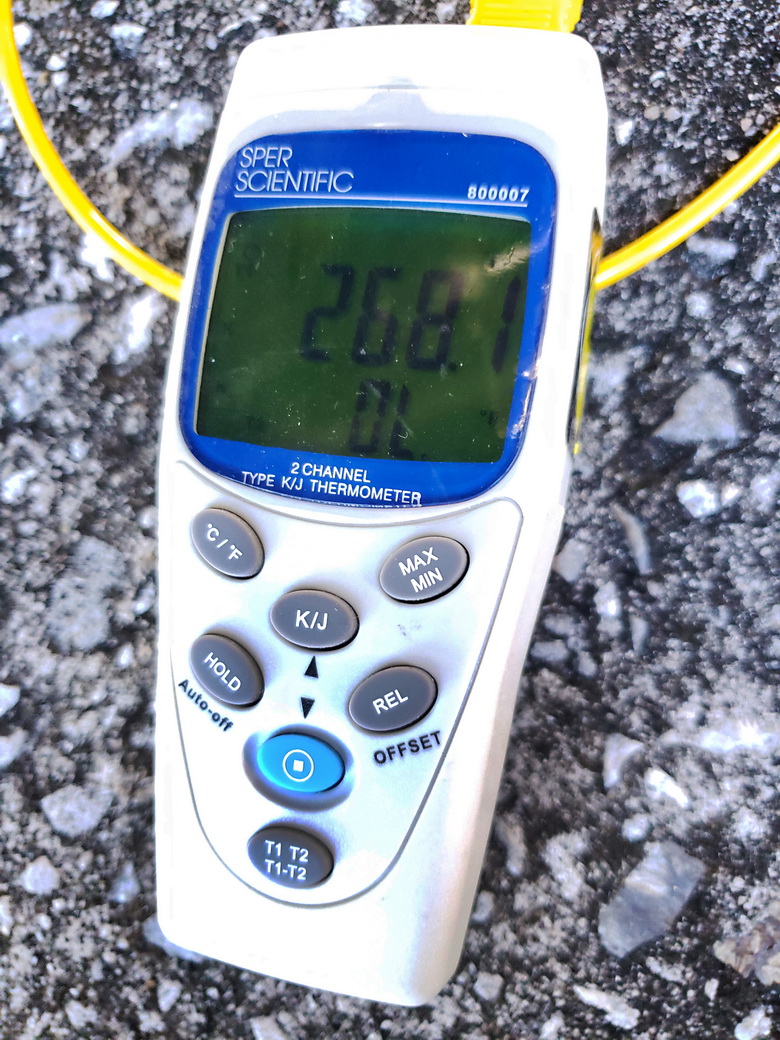
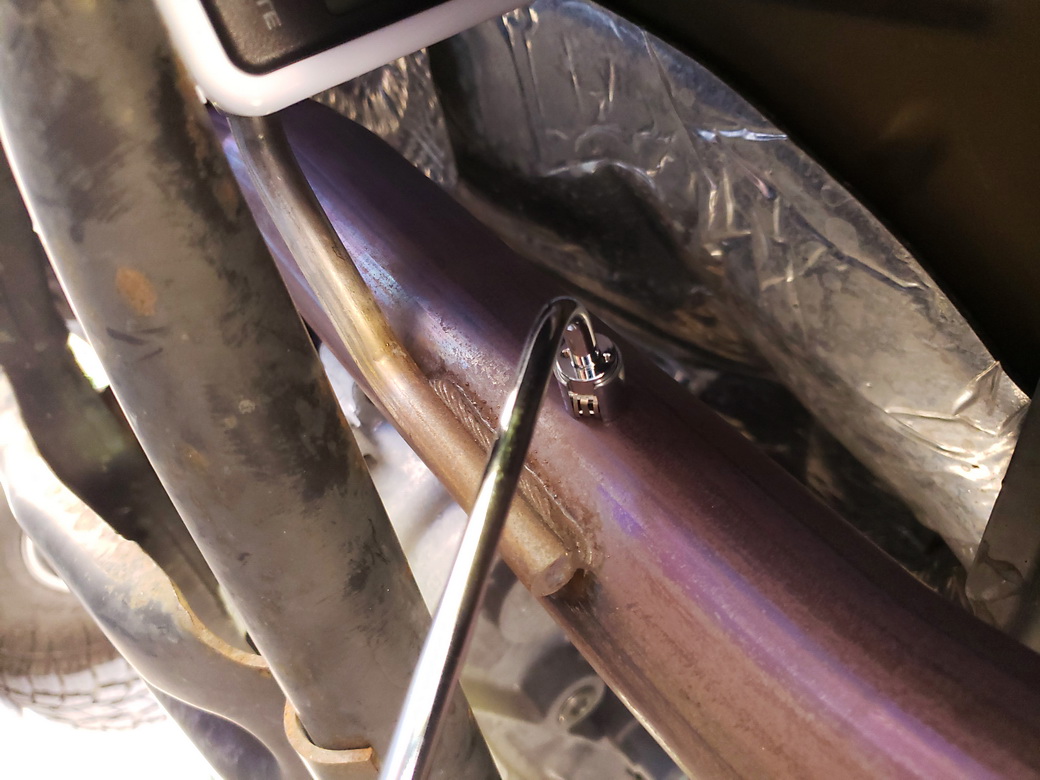
ABOVE: A contact probe measured 268.1 degrees F on the section of exhaust pipe between the catalytic converter and muffler. This section runs directly beneath the driver’s seat.
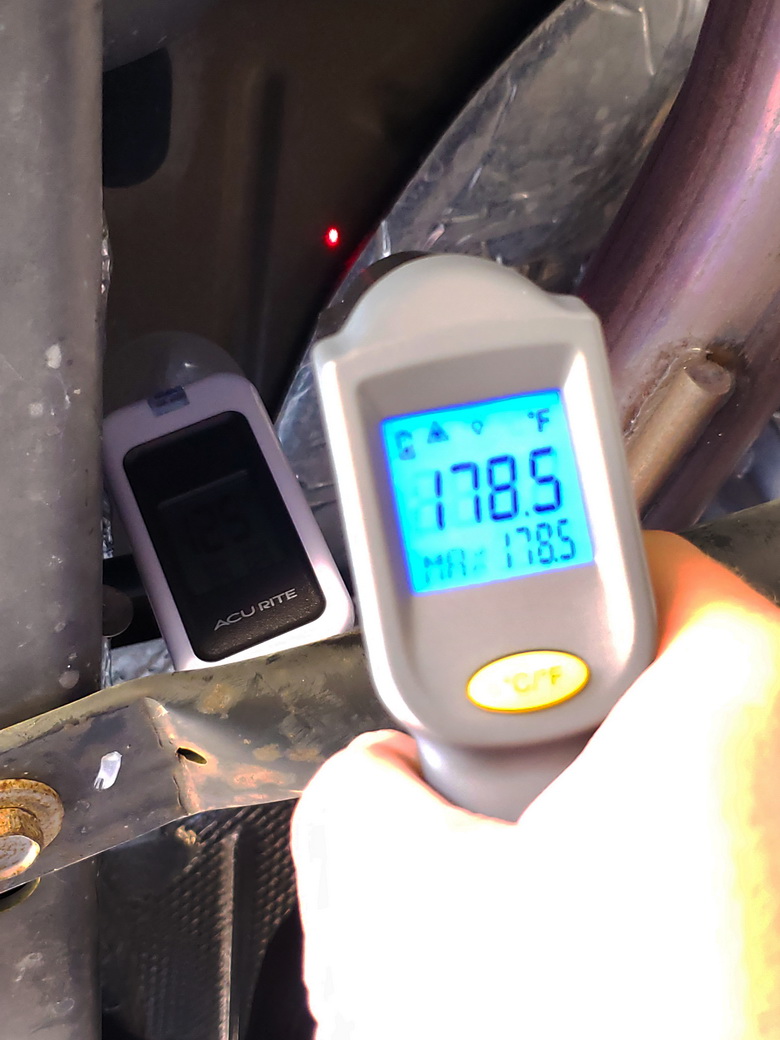
ABOVE: A laser temperature gun measured the floor above the exhaust so that we could also check for a difference when insulating the exhaust. At 178.5 degrees F, the floor was definitely getting hot!

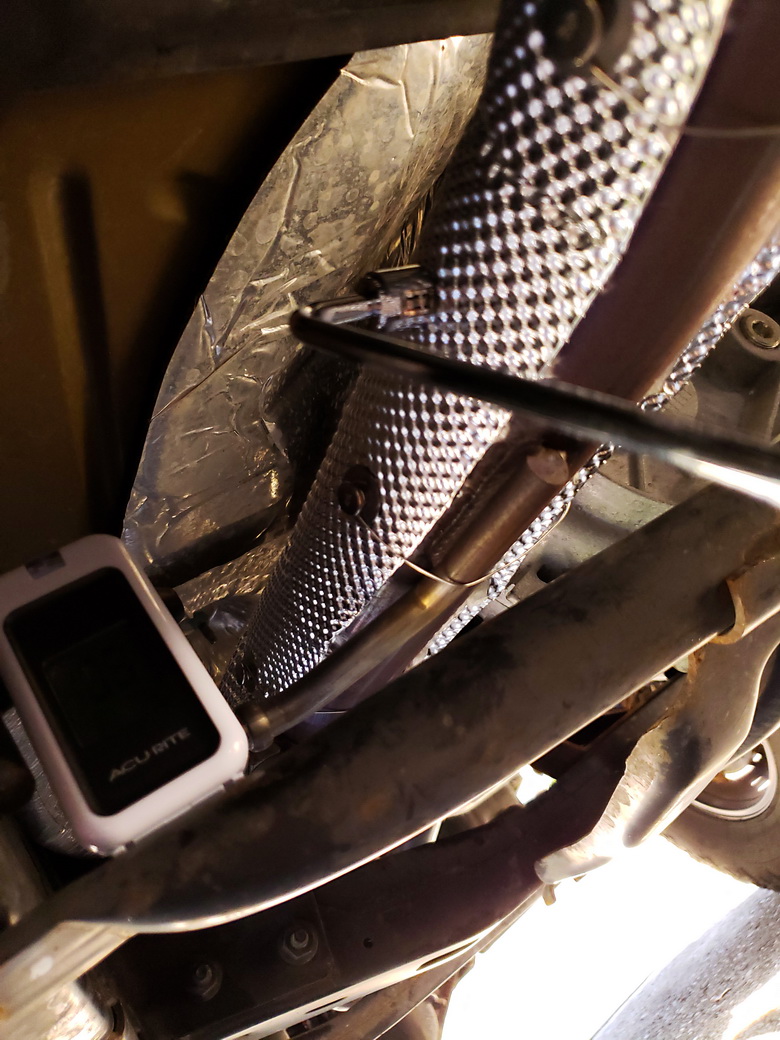
ABOVE: Part of this test was to show how much insulation could reduce under-vehicle ambient temperature and also the heat exposure to components near the exhaust. We used an outdoor thermometer to check how hot things were near the exhaust.
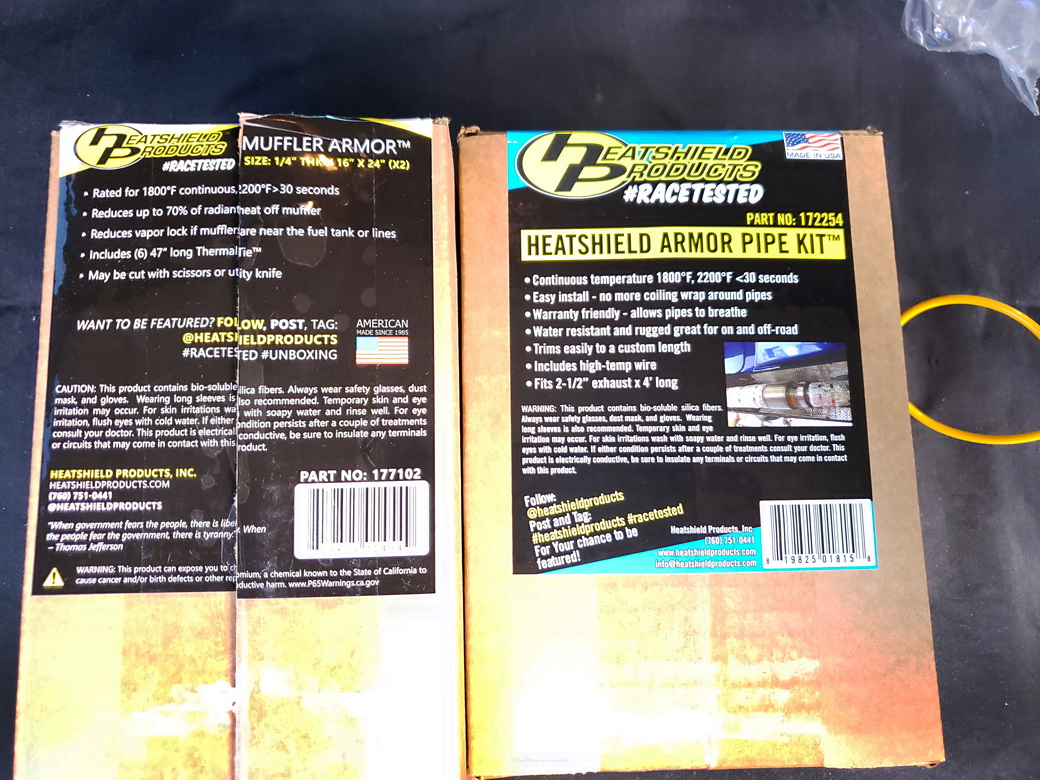
ABOVE: We installed Heatshield Products Muffler Armor and Heatshield Armor Pipe kits. Both come with everything needed, including precut sections to fit a variety of muffler sizes and exhaust-pipe diameters.
ABOVE: The Muffler Armor kit comes with a 14-inch-wide piece of Heatshield Armor, which is large enough to fit most standard mufflers. If your muffler is smaller, trim the insulation with scissors for a more exact fit.
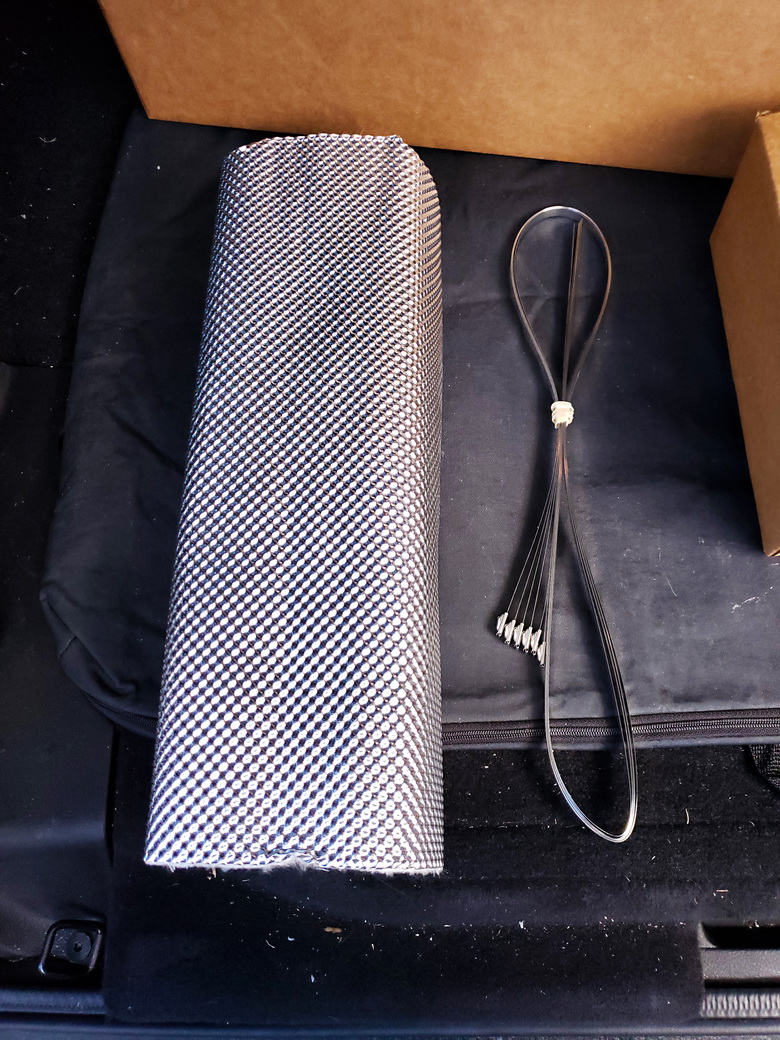
ABOVE: The Heatshield Armor Pipe kit is available in 2-, 3- and 4-foot-long kits to fit either 2.5- or 3-inch-diameter exhaust pipe. It is precut to fit around the pipe and leaves the gap that’s necessary for the exhaust pipe to breathe, preventing the pipe from getting too hot and exceeding its maximum operating temperature. The Armor Pipe kit includes the HP Power Anchor kit already installed and HP Tie Wire™ for securing the insulation to the pipe.
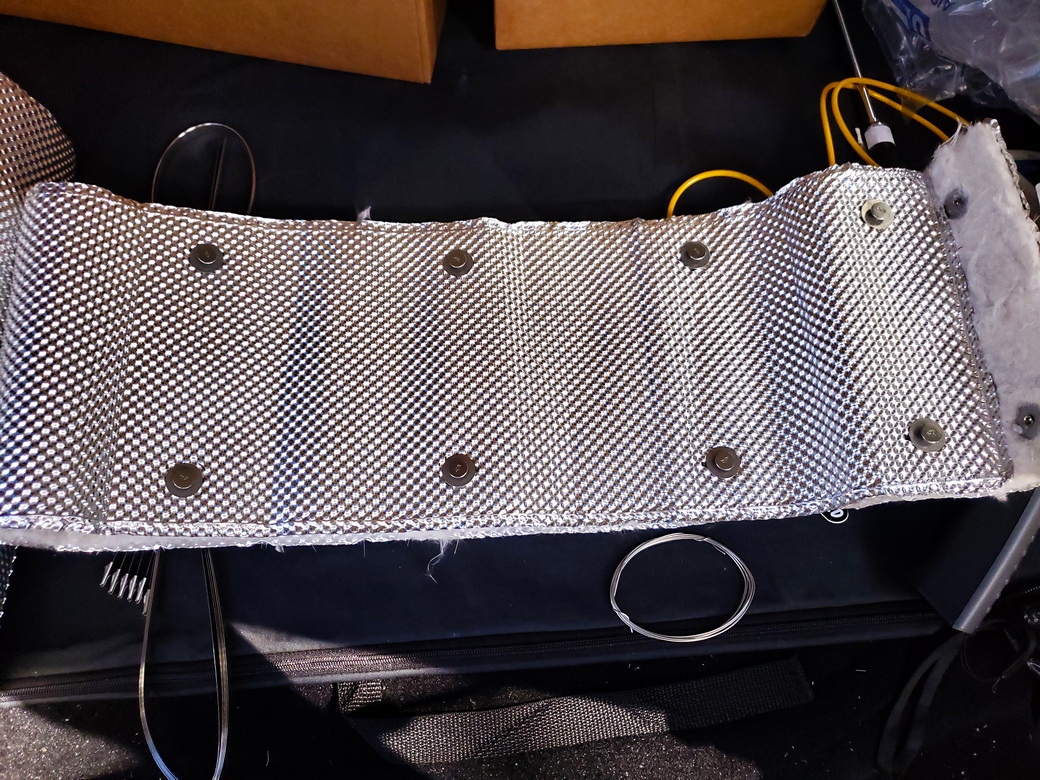
ABOVE: By having the HP Power Anchor kit already on the Armor Pipe kit, you’ll be able to easily remove the exhaust insulation for maintenance, exhaust changes or other reasons. It can be reinstalled afterward with no loss in insulation efficiency.
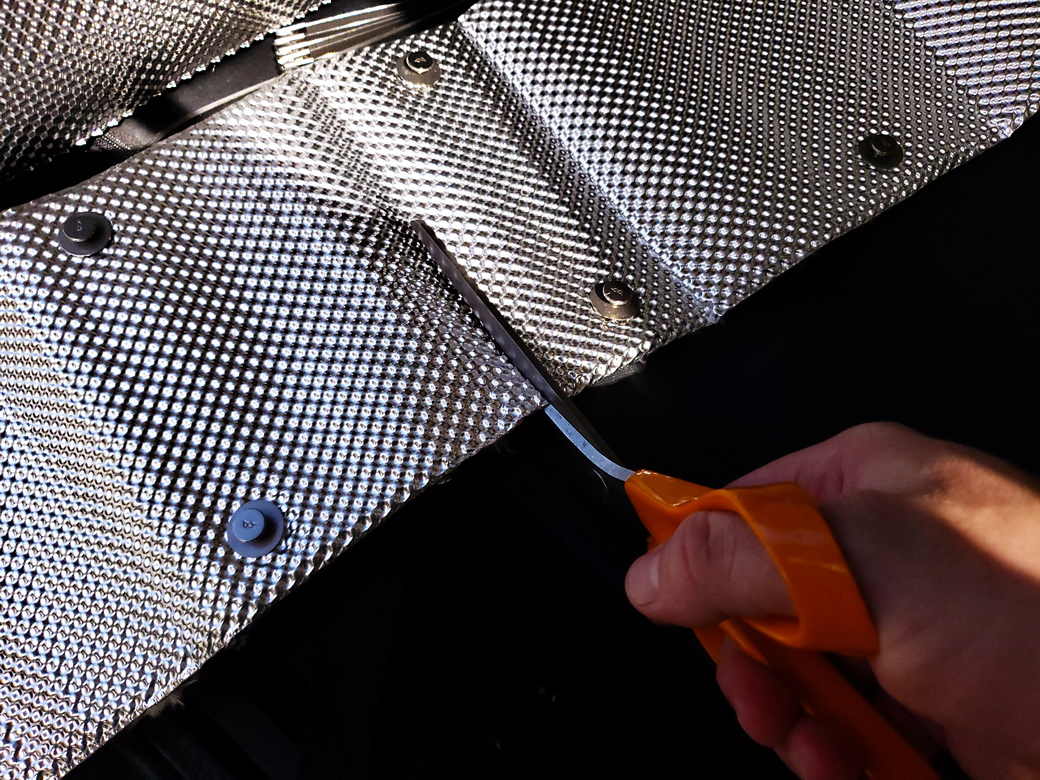
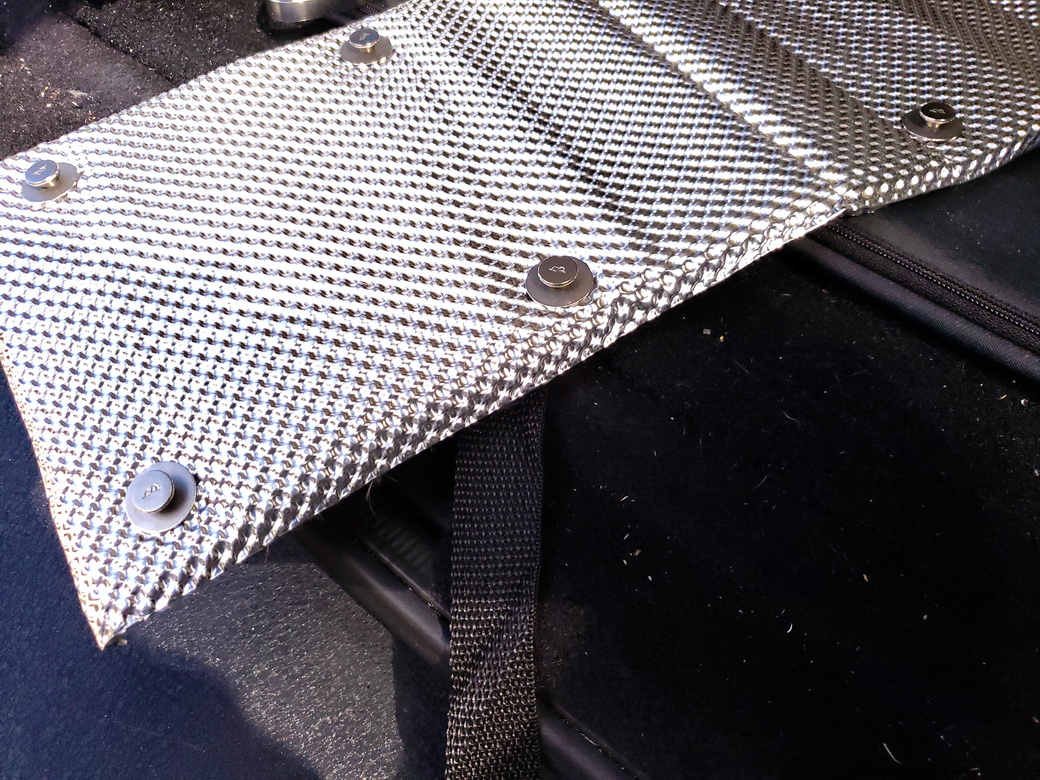
ABOVE: It’s easy to trim the Heatshield Armor exhaust insulation for a perfect fit – just a pair of heavy scissors makes quick work of cutting it to length.
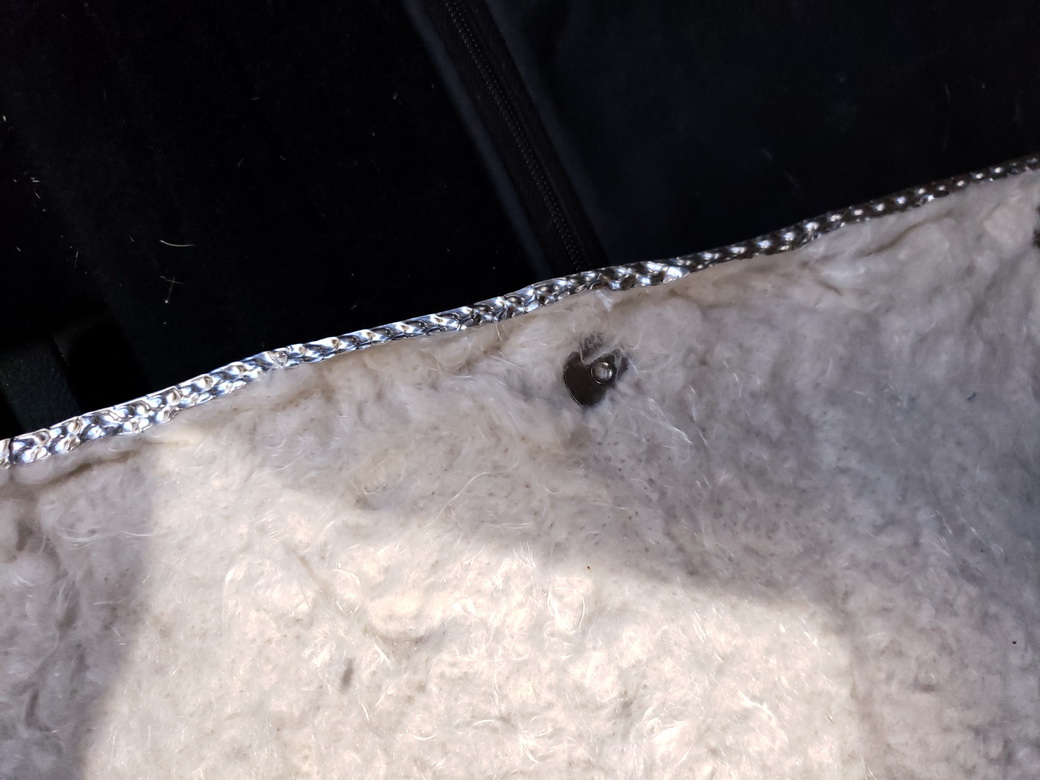
ABOVE: It’s important to make sure you fold the edges of the Heatshield Armor over once you’re done cutting. Use a sharp knife or razor to cut away about an 1/8 inch of ONLY the insulation material from the foil backing, then fold the foil edge over onto the edge of the insulation material to enclose it for extra protection against moisture and other elements.
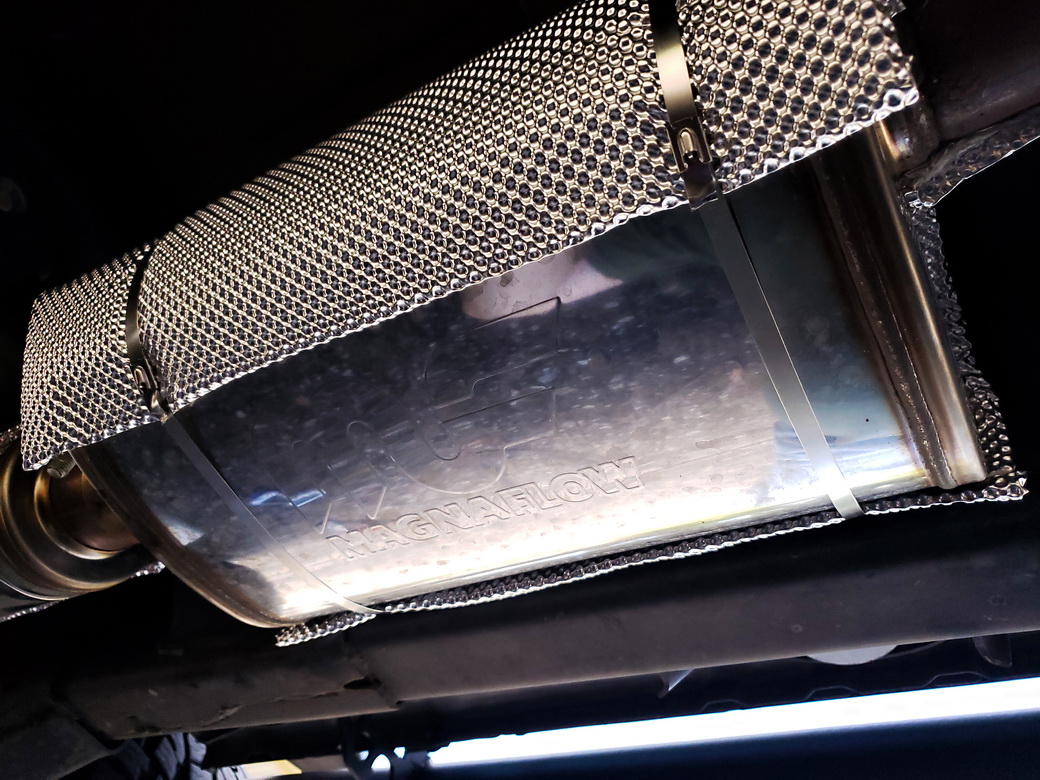
ABOVE: The Muffler Armor kit includes a precut piece of Heatshield Armor that’s large enough to fit most mufflers, as well as HP Thermal-Tie for securing the insulation to the muffler. You don’t want to wrap the entire muffler, just what faces the floor and sides.
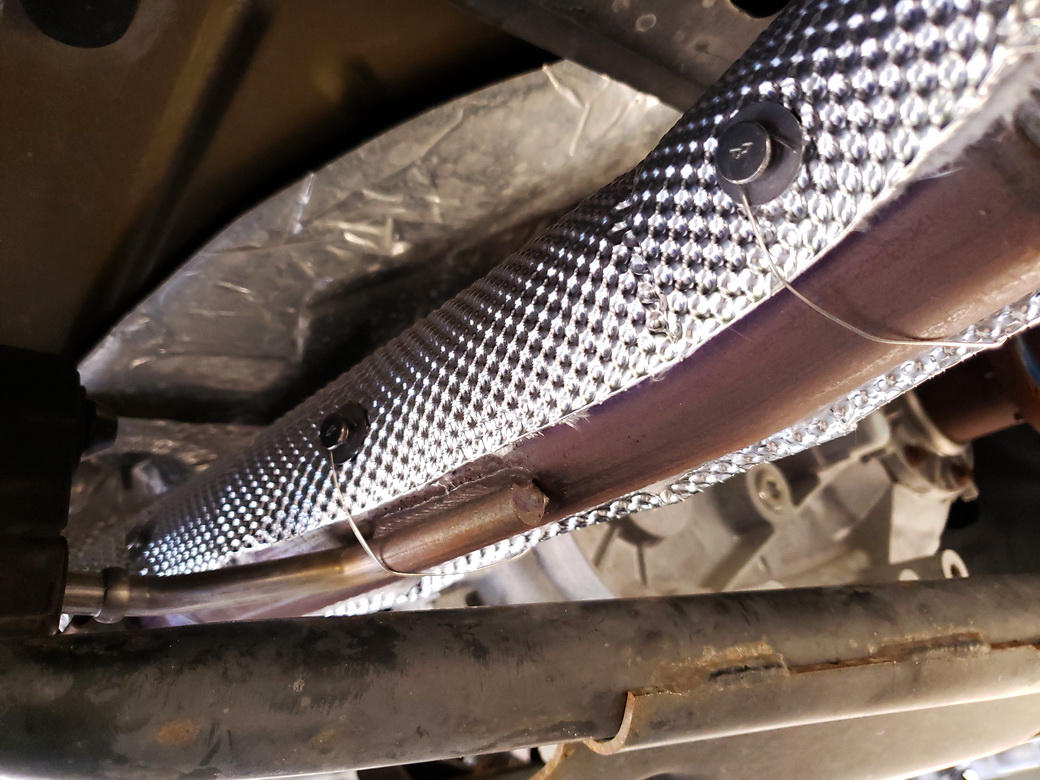
ABOVE: Most of the time, adding the Heatshield Armor Pipe won’t require removal of the exhaust system. The HP Power Anchor provides the points to hook the HP Tie Wire and holds the insulation snugly onto the pipe. You might be wondering why the entire pipe isn’t covered. That’s because Heatshield Armor is so efficient at insulating exhaust pipe, a section of pipe needs to be left exposed (typically facing away from the vehicle floor or components you want to protect) so that the pipe can “breathe” and not exceed the maximum operating temperature that the exhaust pipe’s metal alloy can withstand. That could cause the pipe to degrade and rust through.
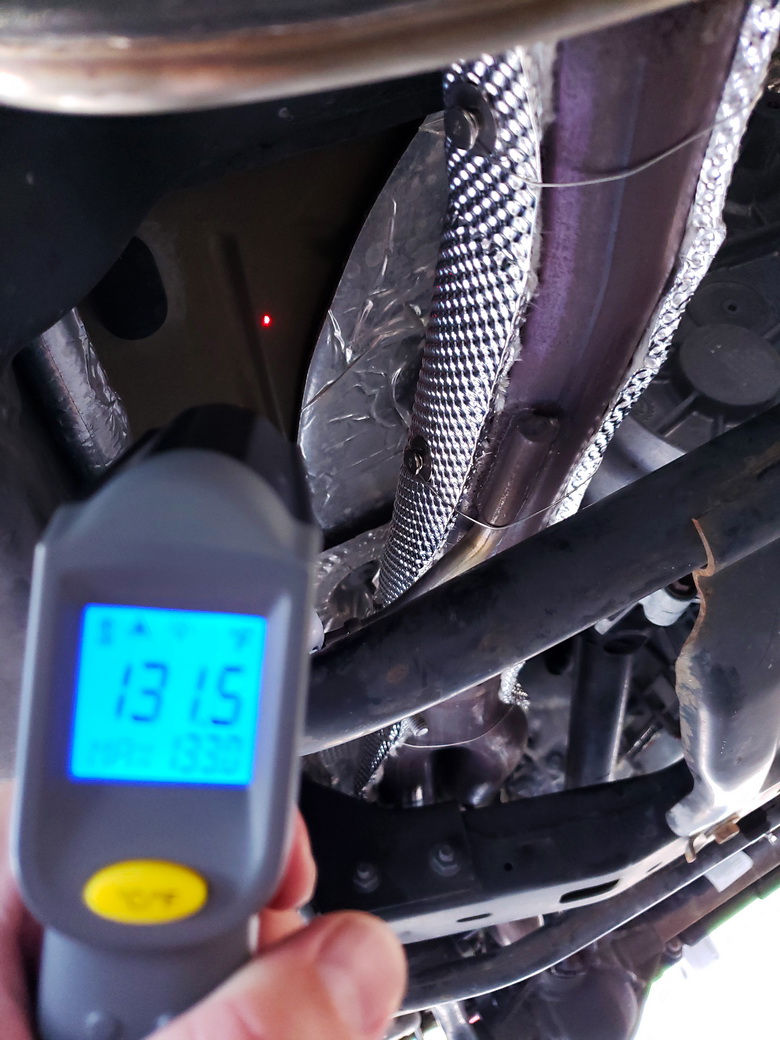
ABOVE: After doing a similar drive and heating-up period as the baseline, we crawled back underneath the Jeep for post-installation temperature measurements. For starters, the floor above the exhaust measured only 131.5 degrees F, a drop of 46.5 degrees from baseline.
ABOVE: The first measurement we took on the pipe was of the insulation to see how much heat it was keeping in versus touching the bare pipe.
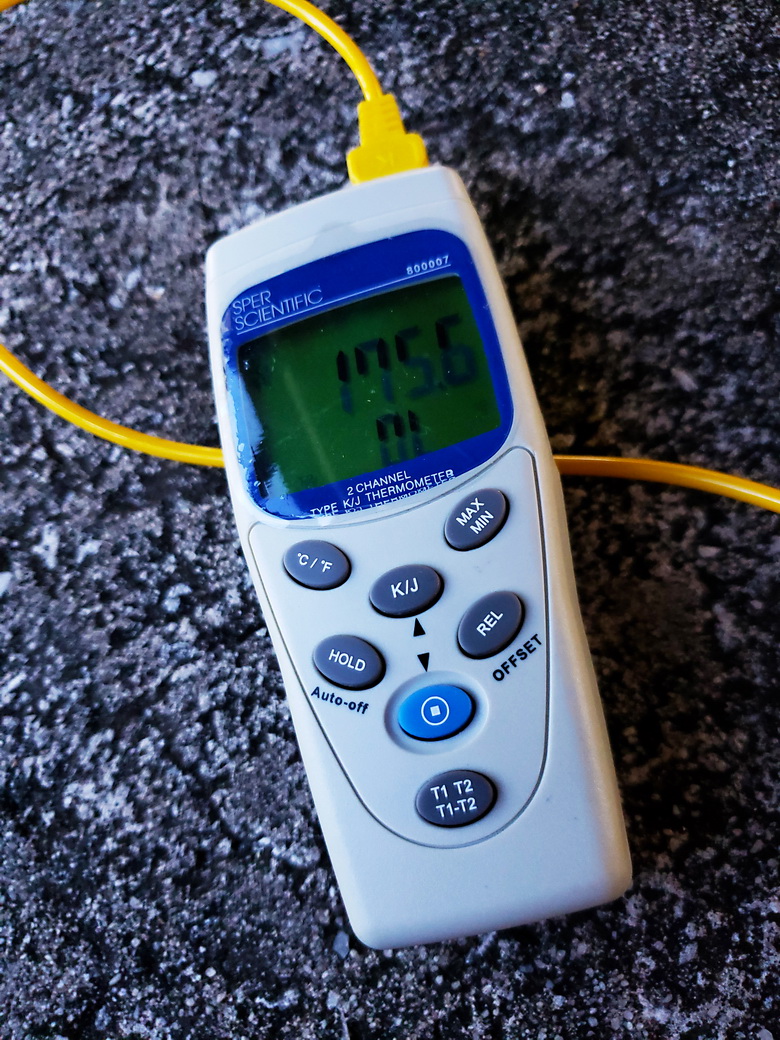
ABOVE: Our before test measured the pipe at 268.1 degrees F. After the Heatshield Armor was added, the surface of the Armor measured 175.6 degrees. That’s a reduction of 92.5 degrees being radiated from the exhaust.
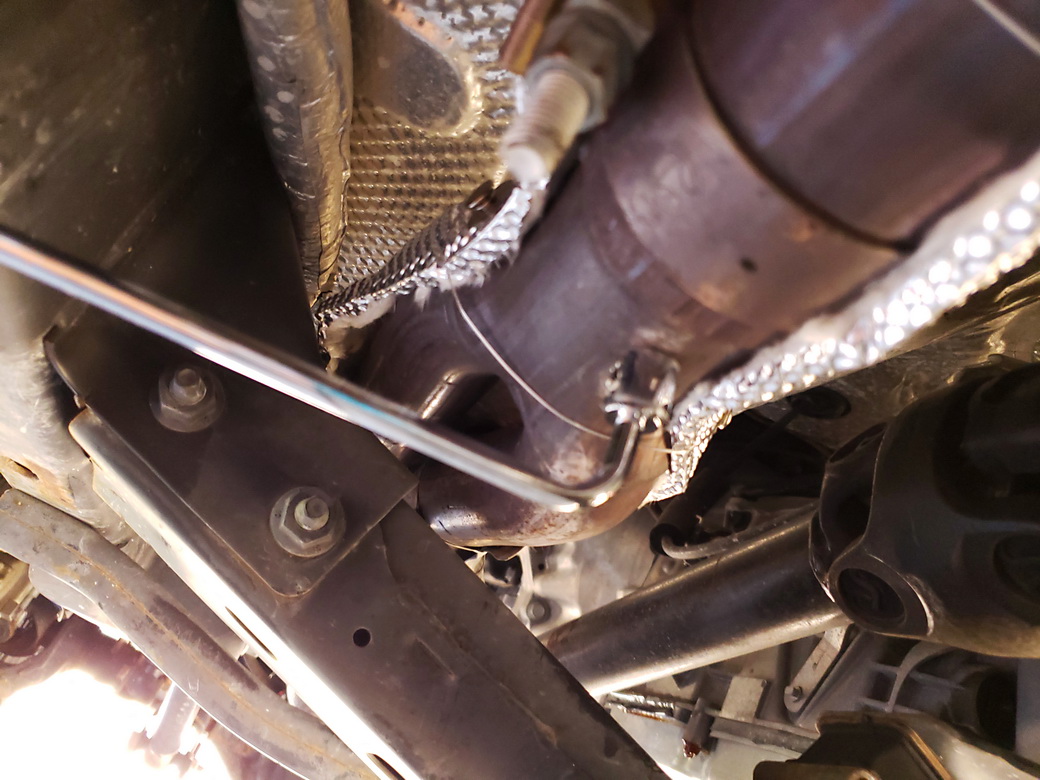
ABOVE: Since the insulation was retaining more heat in the pipe, we used a contact probe to see how much hotter the pipe was actually getting.
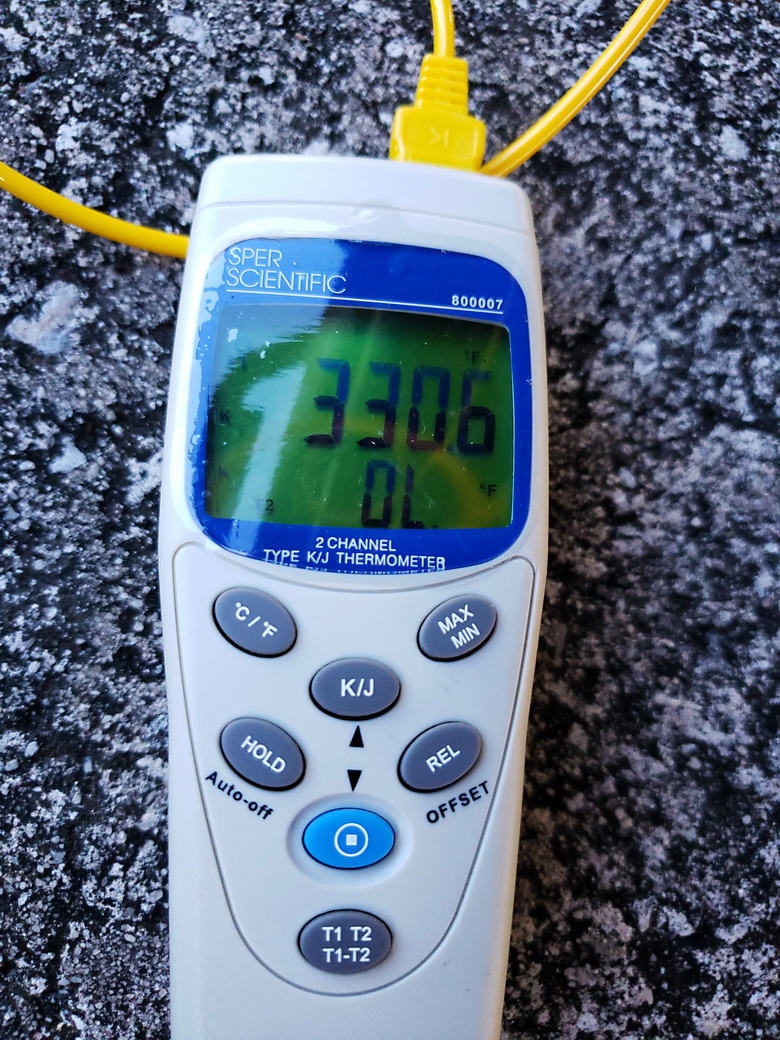
ABOVE: The exhaust pipe now gave a reading of 330.6 degrees F, an increase of 62.5 degrees. This demonstrated just how successful the Heatshield Armor is at insulating and also at reducing heat exposure underneath a vehicle. This also results in more a more efficient exhaust and scavenging of exhaust gasses from the cylinders through the resulting increase in exhaust gas velocities.
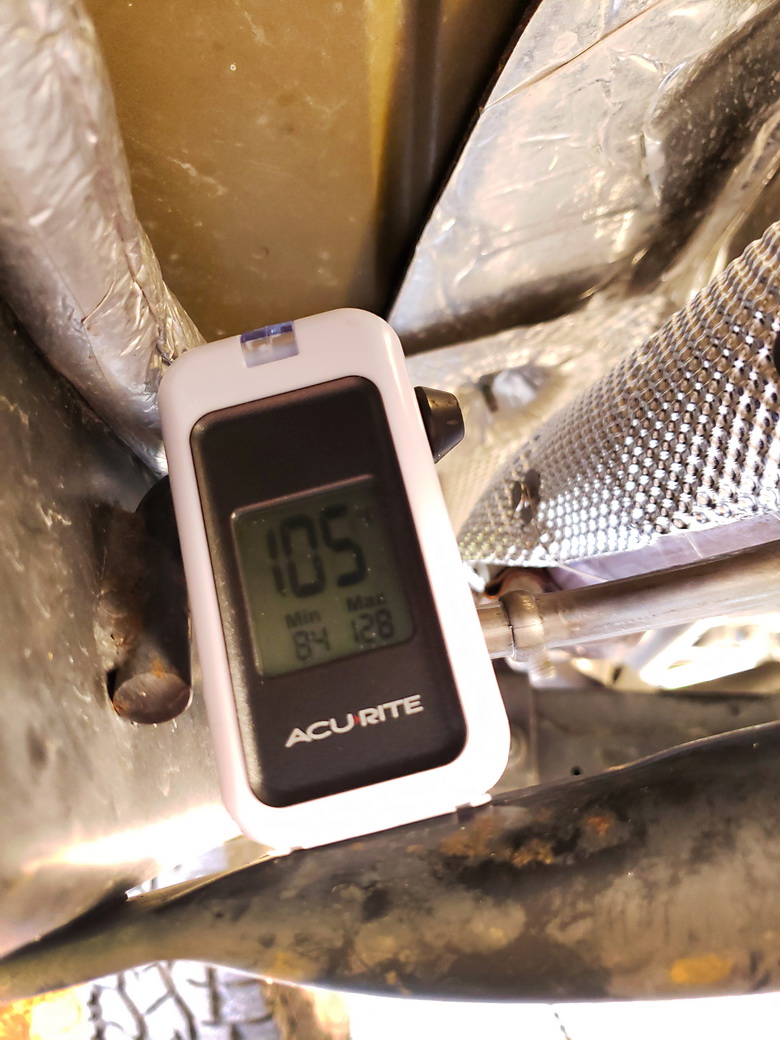
ABOVE: Our final post-installation measurement would be to determine how much cooler the ambient temperature was underneath the Jeep. With the thermometer in the same place as baseline, we only saw 105 degrees F, a drop of 22 degrees from our baseline reading of 127. The overall ambient temperature of the day, in the shade, was 88 degrees F. All these reductions in heat reduce the wear on components and also provide more protection if you have to work on your Jeep while it’s still hot.